How to Make Puri: A Step-by-Step Tutorial
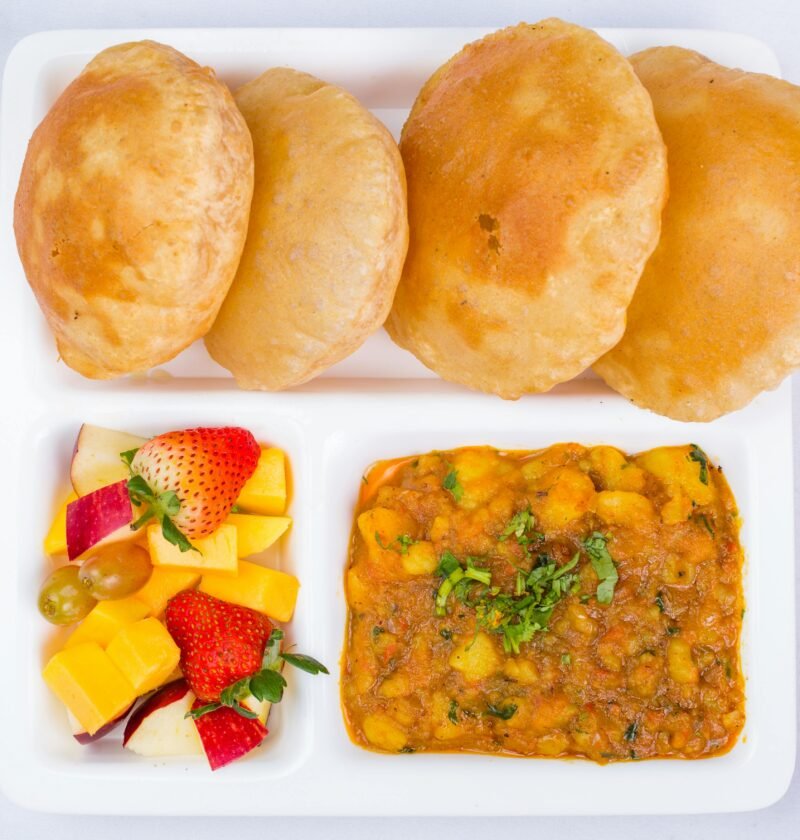
Puri is a popular Indian bread that is deep-fried until it puffs up and becomes crispy. It is often served with various curries and chutneys, and can be enjoyed as a main dish or as a snack. Making puri at home is not as difficult as it may seem, and in this step-by-step tutorial, I will guide you through the process.
Ingredients:
- 2 cups of whole wheat flour
- 1 teaspoon of salt
- 1 tablespoon of oil
- Water, as needed
- Oil, for deep frying
Step 1: Prepare the Dough
In a large mixing bowl, combine the whole wheat flour and salt. Mix well to evenly distribute the salt. Then, make a well in the center of the flour mixture and add the oil.
Gradually add water to the well and start mixing the flour with your fingers. Continue adding water as needed until the dough comes together and is soft and pliable. Knead the dough for a few minutes until it is smooth and elastic.
Step 2: Rest the Dough
Once the dough is ready, cover it with a damp cloth or plastic wrap and let it rest for about 15-20 minutes. This will help the gluten relax and make it easier to roll out the puris.
Step 3: Divide and Roll the Dough
After the resting period, divide the dough into small lemon-sized balls. Take one ball of dough and flatten it slightly with your hands. Dust it with some flour to prevent sticking, and then use a rolling pin to roll it out into a small circle, about 4-5 inches in diameter.
Repeat this process with the remaining dough balls, stacking the rolled puris on a plate and dusting each one with flour to prevent them from sticking together.
Step 4: Heat the Oil
In a deep pan or kadai, heat enough oil for deep frying the puris. The oil should be hot but not smoking. To check if the oil is ready, drop a small piece of dough into the oil. If it sizzles and rises to the surface immediately, the oil is ready.
Step 5: Fry the Puris
Carefully slide one rolled puri into the hot oil. It should immediately start to puff up. Use a slotted spoon or a pair of tongs to gently press down on the puri to help it puff evenly. Flip it over and fry until both sides are golden brown.
Remove the fried puri from the oil and place it on a paper towel-lined plate to drain any excess oil. Repeat this process with the remaining rolled puris, frying them one at a time.
Step 6: Serve and Enjoy
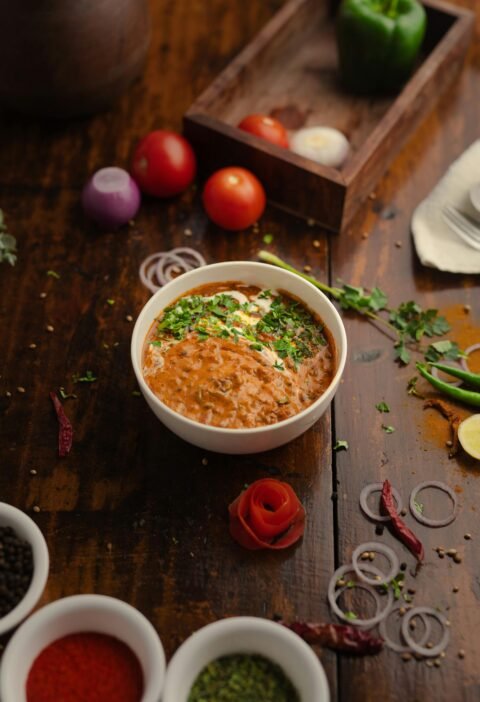
Your homemade puris are now ready to be served. They are best enjoyed fresh and hot, so serve them immediately with your favorite curry, chutney, or yogurt. Puri can also be enjoyed on its own as a snack.
Remember to store any leftover puris in an airtight container to maintain their crispiness. They can be reheated in a hot oven or toaster oven for a few minutes before serving.
Now that you have learned how to make puri from scratch, you can impress your family and friends with this delicious Indian bread. Enjoy!


